Ruger 10/22 – Ch. 4 Assembly – Intro
ASSEMBLY, pg. 101
Overview
It is tempting to simply state at this point, “Assemble in reverse order.” That’s actually true in the case of the 10/22, but to avoid requiring the 10/22 owner to read the Disassembly chapter backwards, we’ll go through the process here.
TIP: Nevertheless, we strongly recommend that you review the Disassembly chapter before proceeding. The more familiar you are with disassembling the rifle, the easier assembly will be.
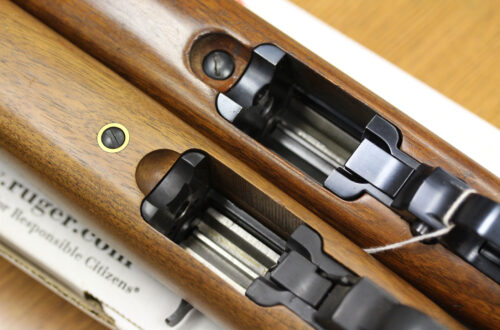
TRIGGER GROUP ASSEMBLY
Safety We’ll start with the stripped trigger guard. The first step is to install the safety.
TOLD YOU SO: As you proceed to install the safety, you may come to understand why we suggest that you leave well enough alone during the disassembly of the trigger group, and let sleeping safeties lie.
Begin by getting out your plastic freezer bag. Insert the safety plunger with spring into its recess in the bottom of the trigger guard. Orient the safety so that the notches in the safety shaft are visible, i.e., towards the front or rear of the trigger guard. Start the safety, plain end first, into the left side of the trigger guard. The left end of the safety will have the red ring. Put the trigger guard in the bag.
In the bag, press the plunger down into its recess with a punch. Press the safety Into the trigger guard in such a way as to push the punch out of the way without losing control of the plunger. You will likely allow the plunger to be launched by its spring a time or to before you get the safety across to the other side of the trigger guard. The plastic bag prevents the plunger from departing to parts unknown or causing injury.
TIP: Based on our experience with the AR-15-type rifle, particularly installing the prot pin without losing the pivot pin detent and spring, we can suggest a tool that will make the installation of the safety somewhat easier.
Take a dowel 1/4″ in diameter; drill a 1/8″ transverse hole an inch or so from me end of the dowel. Insert the dowel into the trigger guard, right to left, drilled-tole end fis, through the holes provided for the safety shaft. Orient the dowel so That tarse hole is directly above the plunger recess. Install the plunger with i spring through the hole in the dowel into the recess. Push the plunger Tie de in the lunch so that the plunger is trapped beneath the dowel. Now push the dowel out of the trigger guard with the safety from the right to the left, plain end first as above slowly and carefully. The plunger should remain trapped as the safety goes into place. It would be advisable to use the plastic bag anyway.
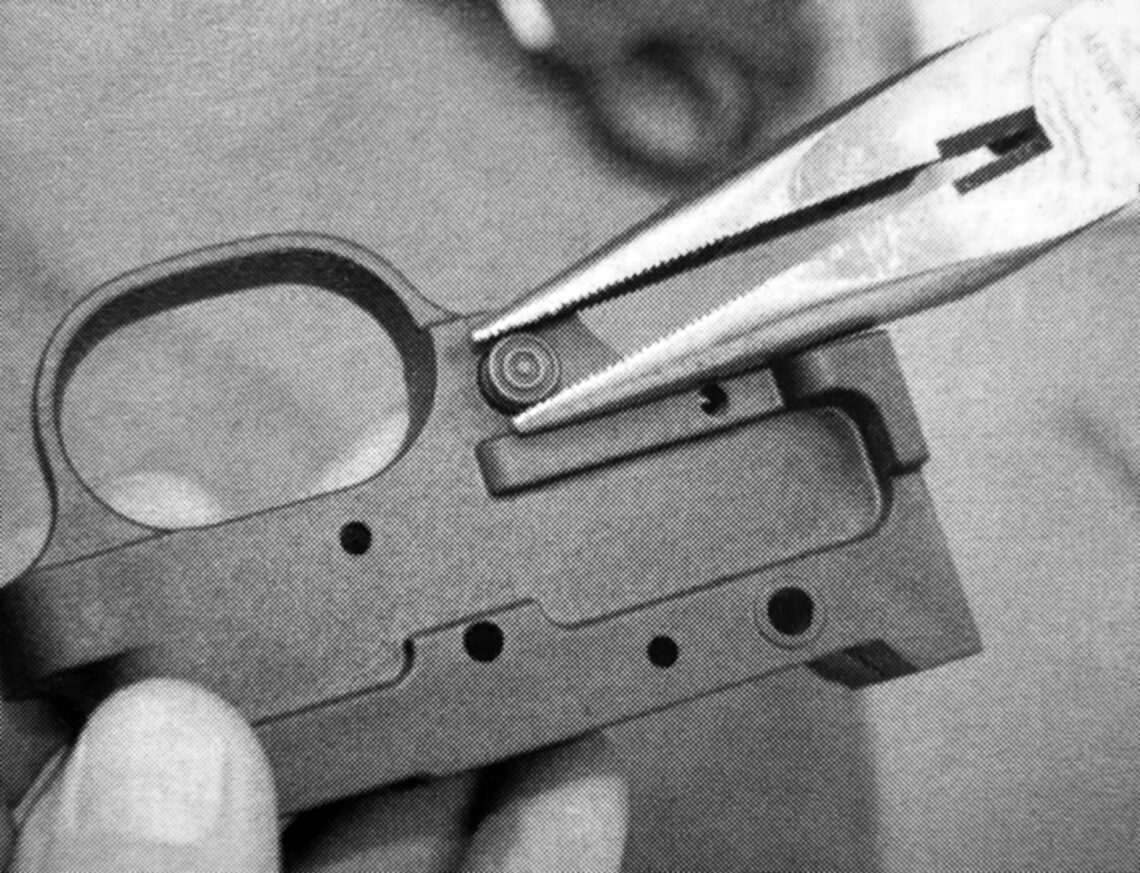
When the safety is completely in the trigger guard, rotate the safety with a pair of pliers so that the notches (that engage the plunger) are down against the plunger, and the flat is on the shaft is up. From here on it’s smooth sailing.
TIP: When the safety is installed, check its proper function by clicking it from FIRE to SAFE and back again a few times. You don’t want to discover something amiss with the safety after filling the trigger group with all the other components!
Get your copy of the Ruger 10/22 Complete Owner’s and Assembly Guide and read more!